First you will need to export the configuration for the wireless profile that you would like to add to your task sequence.
Note: You will need to connect to the wireless profile before you can export it.
:: ADD YOUR WIRELESS PROFILE NAME
SET WIFI-PROFILE="YOUR WIRELESS PROFILE"
:: EXPORT WIRELESS CONFIGURATION
NETSH WLAN EXPORT PROFILE "%WIFI-PROFILE%" FOLDER="%USERPROFILE%\Desktop" KEY=Clear
The export should have copied an XML file to your desktop. In order to keep this simple, go ahead and rename the XML file WirelessProfile.xml. Now, copy WirelessProfile.xml and place it inside of your Deployment Share.
For this example, I will be copying the XML file into a folder called Custom, inside of your scripts folder.
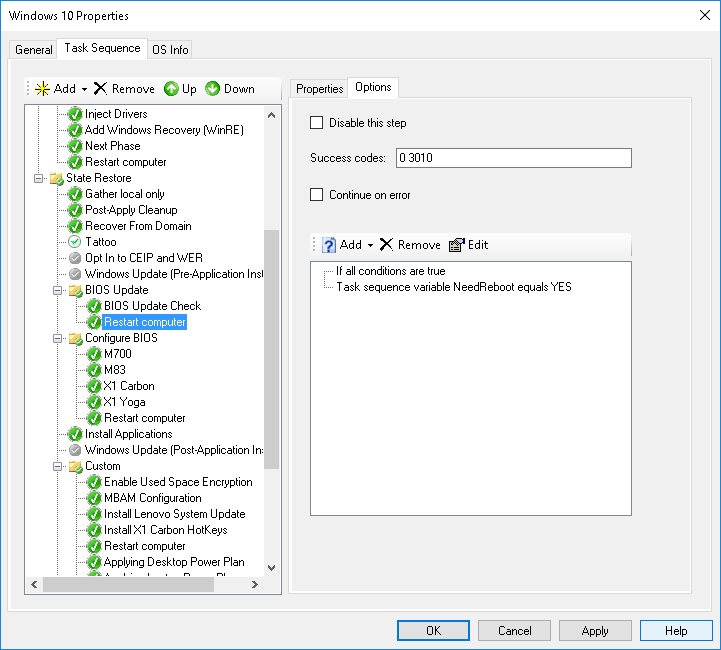
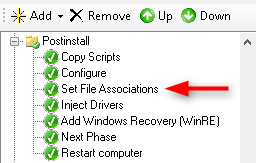
Now go ahead and open up your task sequence and add a “Run Command Line” task inside of the State Restore group.
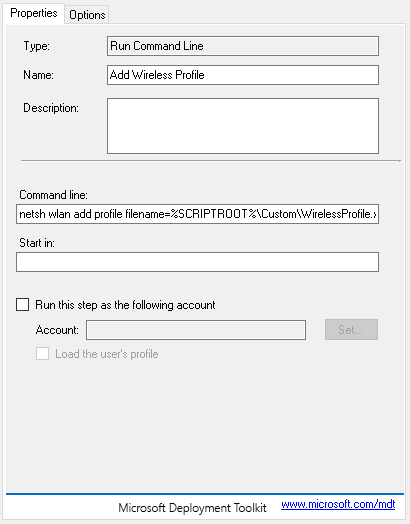
You can name the task anything you would like but in this example I have named it “Add Wireless Profile”.
Last but not least, you will need to add the following in the Command Line field:
NETSH WLAN ADD PROFILE FILENAME="%SCRIPTROOT%\Custom\WirelessProfile.xml" USER=All
Update (5/2/2018):
There seems to be an issue with running XML files that are not stored locally. If the command to add the wireless does not work, try copying the XML file locally and then running the command.
Now you will have a pre-configured Wireless profile!