Use the Install-Font function to install system fonts on Windows 10 1809 and above. Older scripts may not work with Windows 10 1809 and above since Windows will now try to install fonts in the user’s LOCALAPPDATA directory. This function will get around those issues and allow you to programmatically install fonts for all users again.
How to use the function:
Install Fonts from folder
Install-Font “C:\Temp\Helvetica Neue”
Install one font
Install-Font “C:\Temp\Helvetica Neue\HelveticaNeueLTStd-HvIt.otf”
Function Install-Font {
<#
.SYNOPSIS Install system fonts for all users
.PARAMETER FontPath Provide path to a font or a folder containing fonts
.PARAMETER Recurse Scan subdirectories
.EXAMPLE - Install Fonts from folder
Install-Font "C:\Temp\Helvetica Neue"
.EXAMPLE - Install one font
Install-Font "C:\Temp\Helvetica Neue\HelveticaNeueLTStd-HvIt.otf"
#>
[CmdletBinding()]
Param(
[Parameter(Mandatory=$true)]
[String]$FontPath,
[Switch]$Recurse
)
If(Test-Path $FontPath) {
$FontFile = Get-Item -Path $FontPath
If($FontFile -is [System.IO.DirectoryInfo]) {
If($Recurse) {
$Fonts = Get-ChildItem -Path $FontFile -Include ('*.fon','*.otf','*.ttc','*.ttf') -Recurse
}
Else {
$Fonts = Get-ChildItem -Path "$FontFile\*" -Include ('*.fon','*.otf','*.ttc','*.ttf')
}
If(!$Fonts) {
Throw ("Unable to find any fonts in the folder")
}
}
ElseIf($FontFile -is [IO.FileInfo]) {
If ($FontFile.Extension -notin ('.fon','.otf','.ttc','.ttf')) {
Throw ("The file provided does not appear to be a valid font")
}
$Fonts = $FontFile
}
Else {
Throw ("Expected font or folder")
}
}
Else {
Throw [System.IO.FileNotFoundException]::New("Could not find path: $FontPath")
}
ForEach ($Font in $Fonts) {
$FontName = $Font.Basename
Write-Host "Installing font: $FontName"
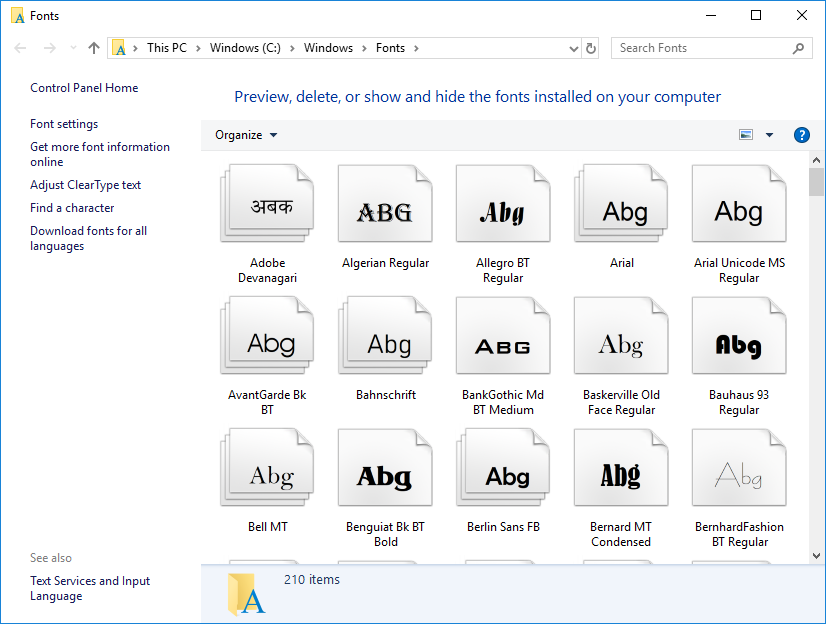
Copy-Item $Font "C:\Windows\Fonts" -Force
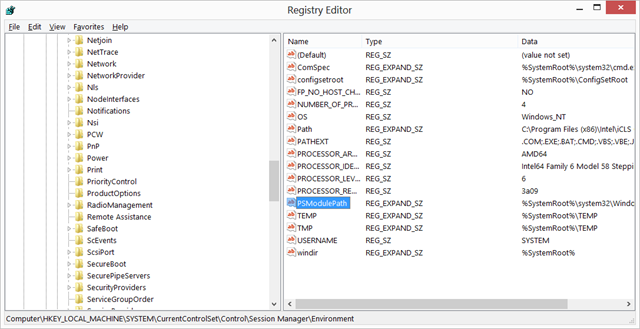
New-ItemProperty -Name $FontName -Path "HKLM:\Software\Microsoft\Windows NT\CurrentVersion\Fonts" -PropertyType String -Value $Font.Name -Force | Out-Null
}
}

 li>
li>